How to Panel Line Gundam Model Kits with a Pencil
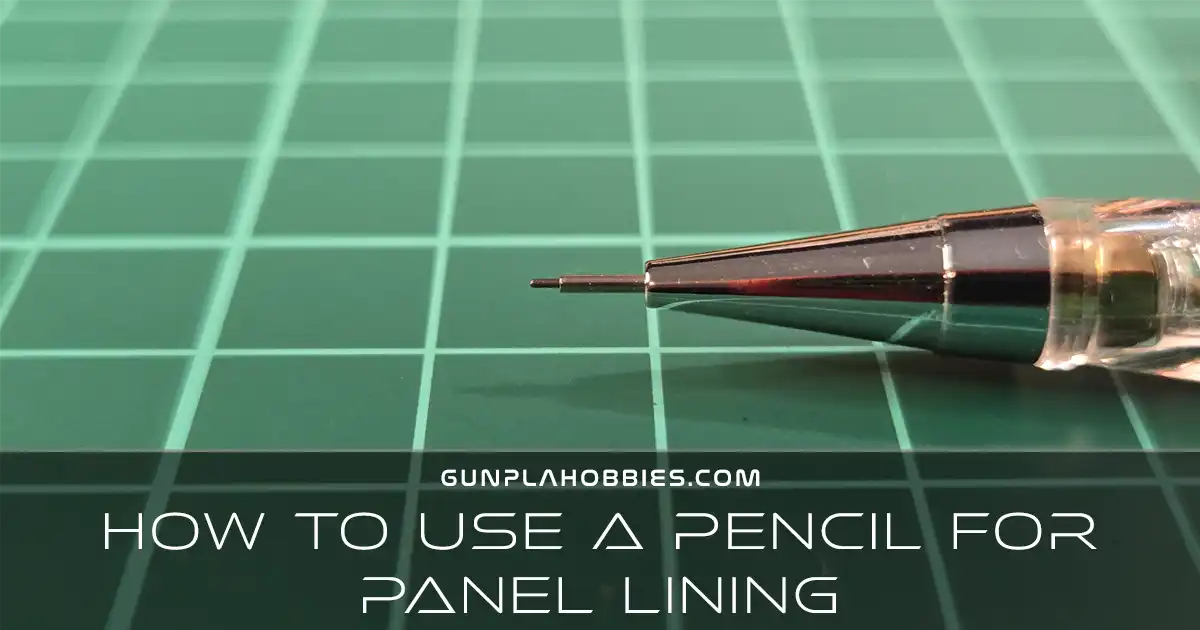
Table of Contents

If you’re new to Gunpla and looking for an easy, safe way to make your kits pop, panel lining with a mechanical pencil might be your new best friend.
Panel lining is the art of tracing the molded grooves on your model to give it depth and that signature “real robot” look. While many hobbyists jump straight to enamel washes or markers, there’s one underrated tool that’s perfect for beginners: the humble mechanical pencil.
In this post, I’ll walk you through why it works, how to use it, and tips to get the cleanest, sharpest panel lines—no mess, no stress.
Why Use a Mechanical Pencil?
There are plenty of options out there for panel lining, but here’s why a mechanical pencil stands out, especially if you’re just starting:
- Safe on All Plastic Types – No solvents, no chemicals; so there’s zero risk of cracking or damaging your parts (especially ABS joints).
- Easy to Fix – Make a mistake? Just erase it! No thinner or cotton swabs needed. It’s the most forgiving method around.
- Affordable & Accessible – No need to buy special markers or paints. A pencil with 0.3mm or 0.5mm lead is all you need.
- Natural Finish – Pencil graphite gives a subtle shadow effect, especially on white or light-colored parts. It enhances detail without overpowering the original colors.
What You’ll Need
- A mechanical pencil (preferably 0.3mm or 0.5mm)
- Lead HB or B (HB for light, B for darker lines)
- A soft eraser or cotton swab for cleanup
- Topcoat spray to seal the lines (Optional)
How to Panel Line with a Mechanical Pencil
- Prep Your Kit – Wipe your parts to remove fingerprints or dust. You can panel line before or after assembling, depending on your workflow.

- Trace the Lines – Gently draw along the panel lines with the pencil. Let the lead glide naturally—don’t press too hard.

- Clean the Edges – Use an eraser or cotton swab to wipe away excess graphite outside the grooves. This sharpens the look and keeps things tidy.

- Seal It (Optional) – If you want your lines to last, spray a clear topcoat (e.g., Mr. Super Clear) in light layers to lock them in.
Tips & Tricks for Crisp Results
- Start with lighter parts – Graphite shows up best on white or light gray plastic.
- Use the lead’s edge for shading – Lightly rub and blend with a tissue for weathering effects.
- Sharpen the lead – A crisp tip gives cleaner lines. Many pencils have built-in sharpeners in the cap.
- Work slowly – You’re drawing, not painting. Control and patience are key.
- Practice on spare parts – Try a few strokes on runner scraps to get the feel first.
- Try it on a cheap kit first – Grab an inexpensive High Grade kit to practice on. It’s a great way to build confidence without the pressure of messing up a pricier or more complex model.
A Simple Tool with Big Impact
Panel lining with a mechanical pencil might not be flashy, but it’s surprisingly effective, incredibly easy, and completely safe. It’s perfect for anyone just getting into the hobby—or even seasoned builders looking for a quick way to add polish to their kits.
So go ahead—pick up that pencil, line those grooves, and watch your Gunpla come to life.